Tuesday, 24 May 2022

The Kitbashes: Ork Trukks (Part Deux)

Woo!  Two posts in two days.  I'm on a roll.

Here we have Velvet overseeing the painting process.  I like to build my kits in sub-assemblies that can easily be painted before final assembly.

Alrighty, first up, the cabin.  The biggest change I made was not putting in the pintle-mount for the gun and wrecking ball, as seen in this beauty by sulfhydryl on DakkaDakka:

I wanted to have the option of either putting in a gunner or a passenger like this nob.

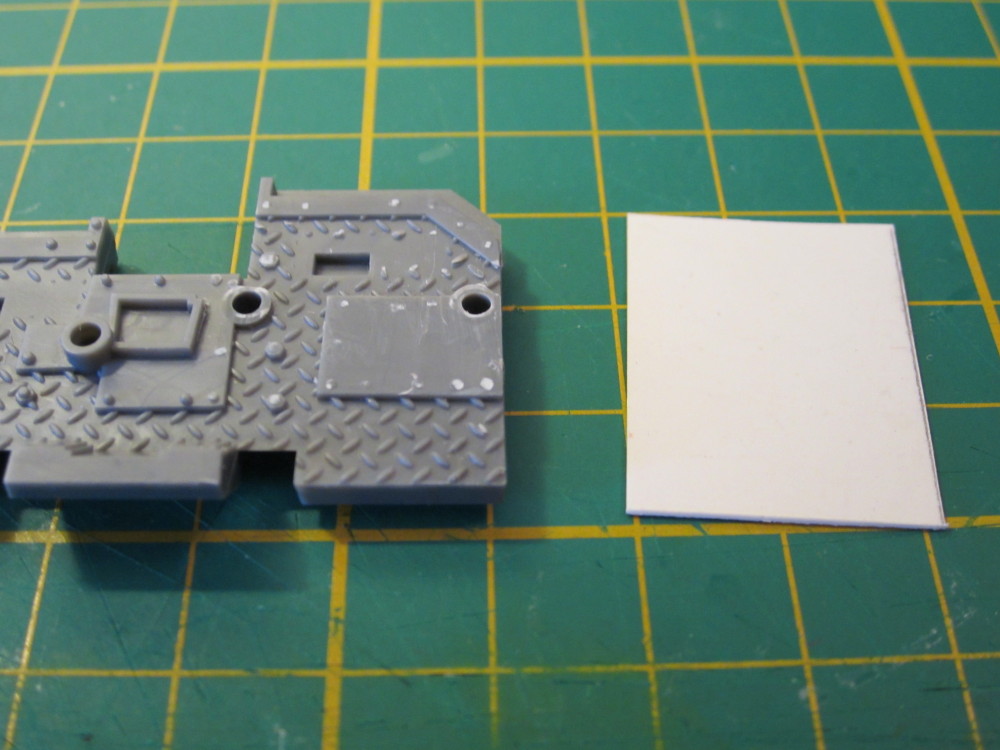
I trimmed the floor on the passenger side down and added a piece of plasticard to make it nice and level.  It also added a little extra height that made it a bit easier to mount the gunner.

In some builds I used treadplate instead.  These are from Plastruct, and again you should be able to find them in hobby shops that carry model railroads.  Or you can order from them direct:  https://plastruct.com/

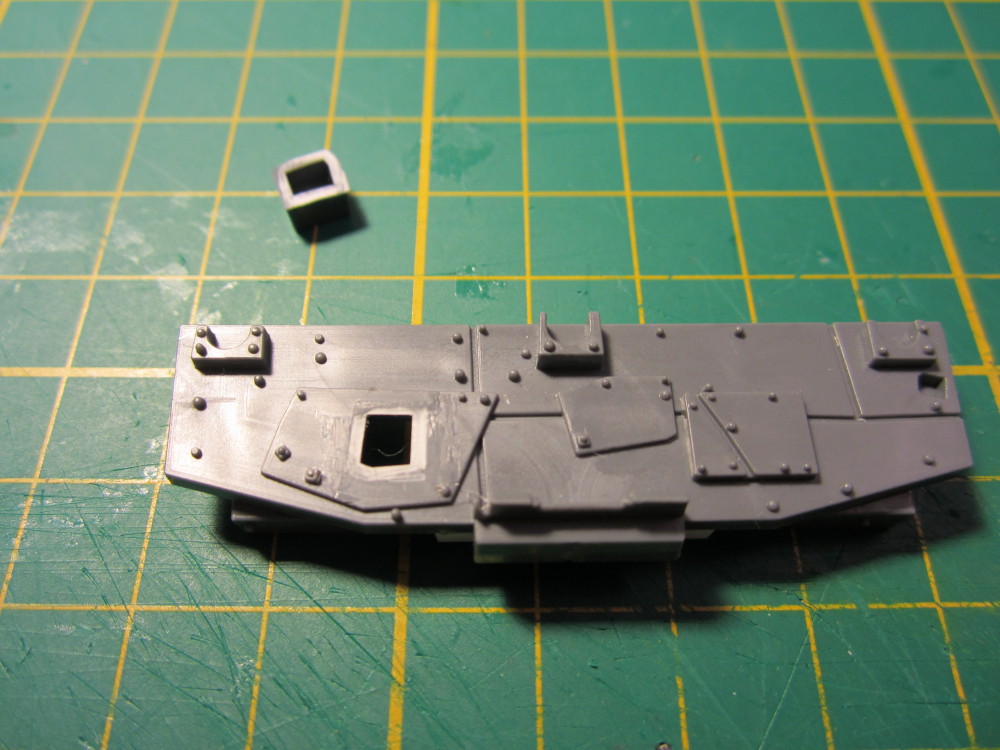
After I trimmed the piece to fit and glued it down, I drilled a bunch of holes for rivets.

There are tons of different ways to make rivets.  This is my favourite for orky rivets, as I don't have to deal with tiny cast rivets or slices of rod pinging off into the warp every time I try to pick one up.

These rivets end up looking kinda rough, which is fine for orky vehicles.  Not so much for Imperial vehicles.  My thinking is that the nice smooth rivets are done by grots with actual riveting tools and the beat-up ones are done by enthusiastic ork volunteers with whatever blunt tool was at hand.

I also trimmed this piece off the cabin back for a little variety as at the time of building this I had four trukks being built.

I replaced it with a glyph plate.

I made a variety of magnetic weapon mounts out of scrap bits.  The main thing is to have the magnet positioned at a consistent spot from one cabin to the next.

I think that this one looks suitably ramshackle.

I may have gotten carried away with the whole magnet thing.  Not only are the heavy weapons magnetized where they attach to the mount and the gunner's hands, but the gunner's arms are magnetized as well.

Here we have a magnetized 'eavy shoota.  

Rokkit launcher.

Scorcher.

Spear gun.  I eventually replaced the spear heads with ones from some grot spear arms, shown here.

Twin-linked shootas.

Harpoon gun.

A different weapon mount cobbled together out of scrap.

I think that this weapon mount may have been scavenged from a pintle mount.

This weapon mount was obviously scavenged from some Imperial vehicle as it still has a bit of an Aquila showing.

The last big modification to the cabin involved the back wall.

Part of the back wall rests on top of the bed.  But since I was making the bed removable, something needed to be done.

Use a saw to carefully cut the bed along the red line.  The circled rivets will likely need to be shaved off too, depending on where the cross-braces on the frame extension ended up.

Cut and cleaned up a bit.

Glue the cut piece to the back wall.

I glued on a couple of .040" x .125" pieces so that it will rest on the frame.

Here you can see the assembled cabin back and a lengthened bed.

I'll get into making the lengthened beds in the next post, as someone is informing me that it's past their suppertime.

Monday, 23 May 2022

The Kitbashes: Ork Trukks (Part One)

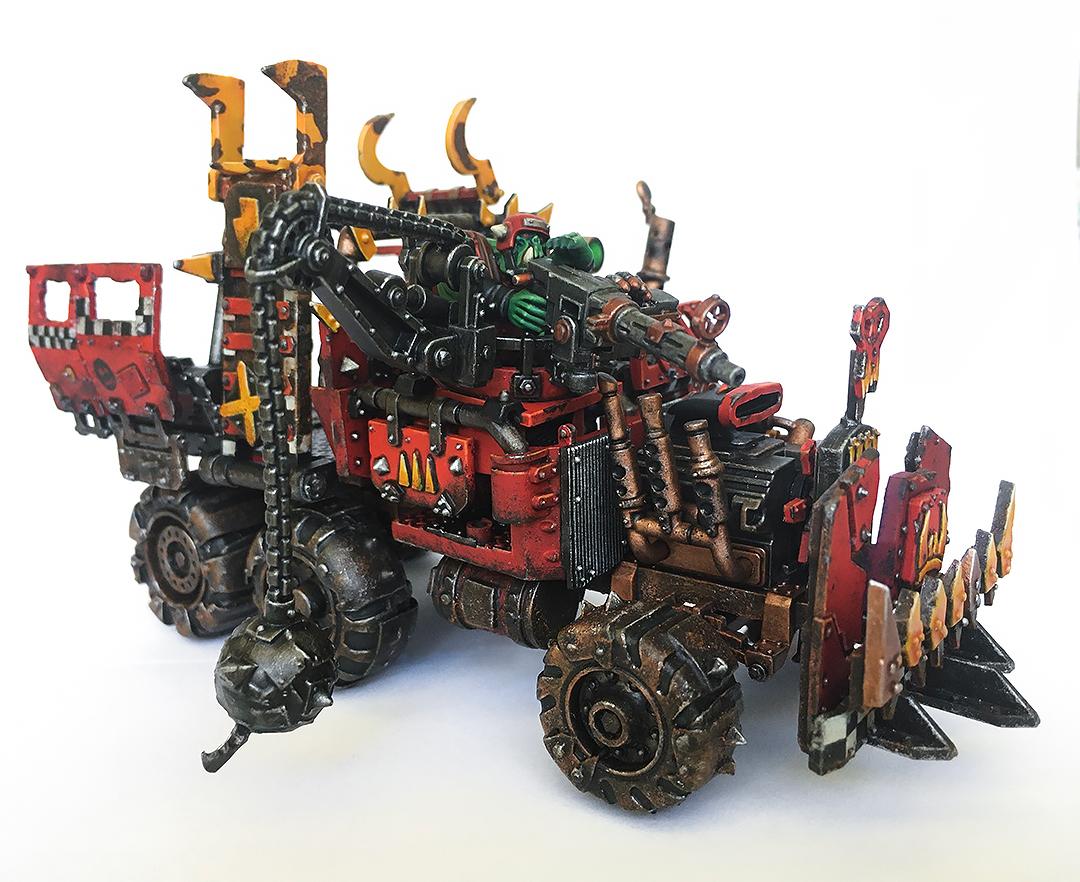
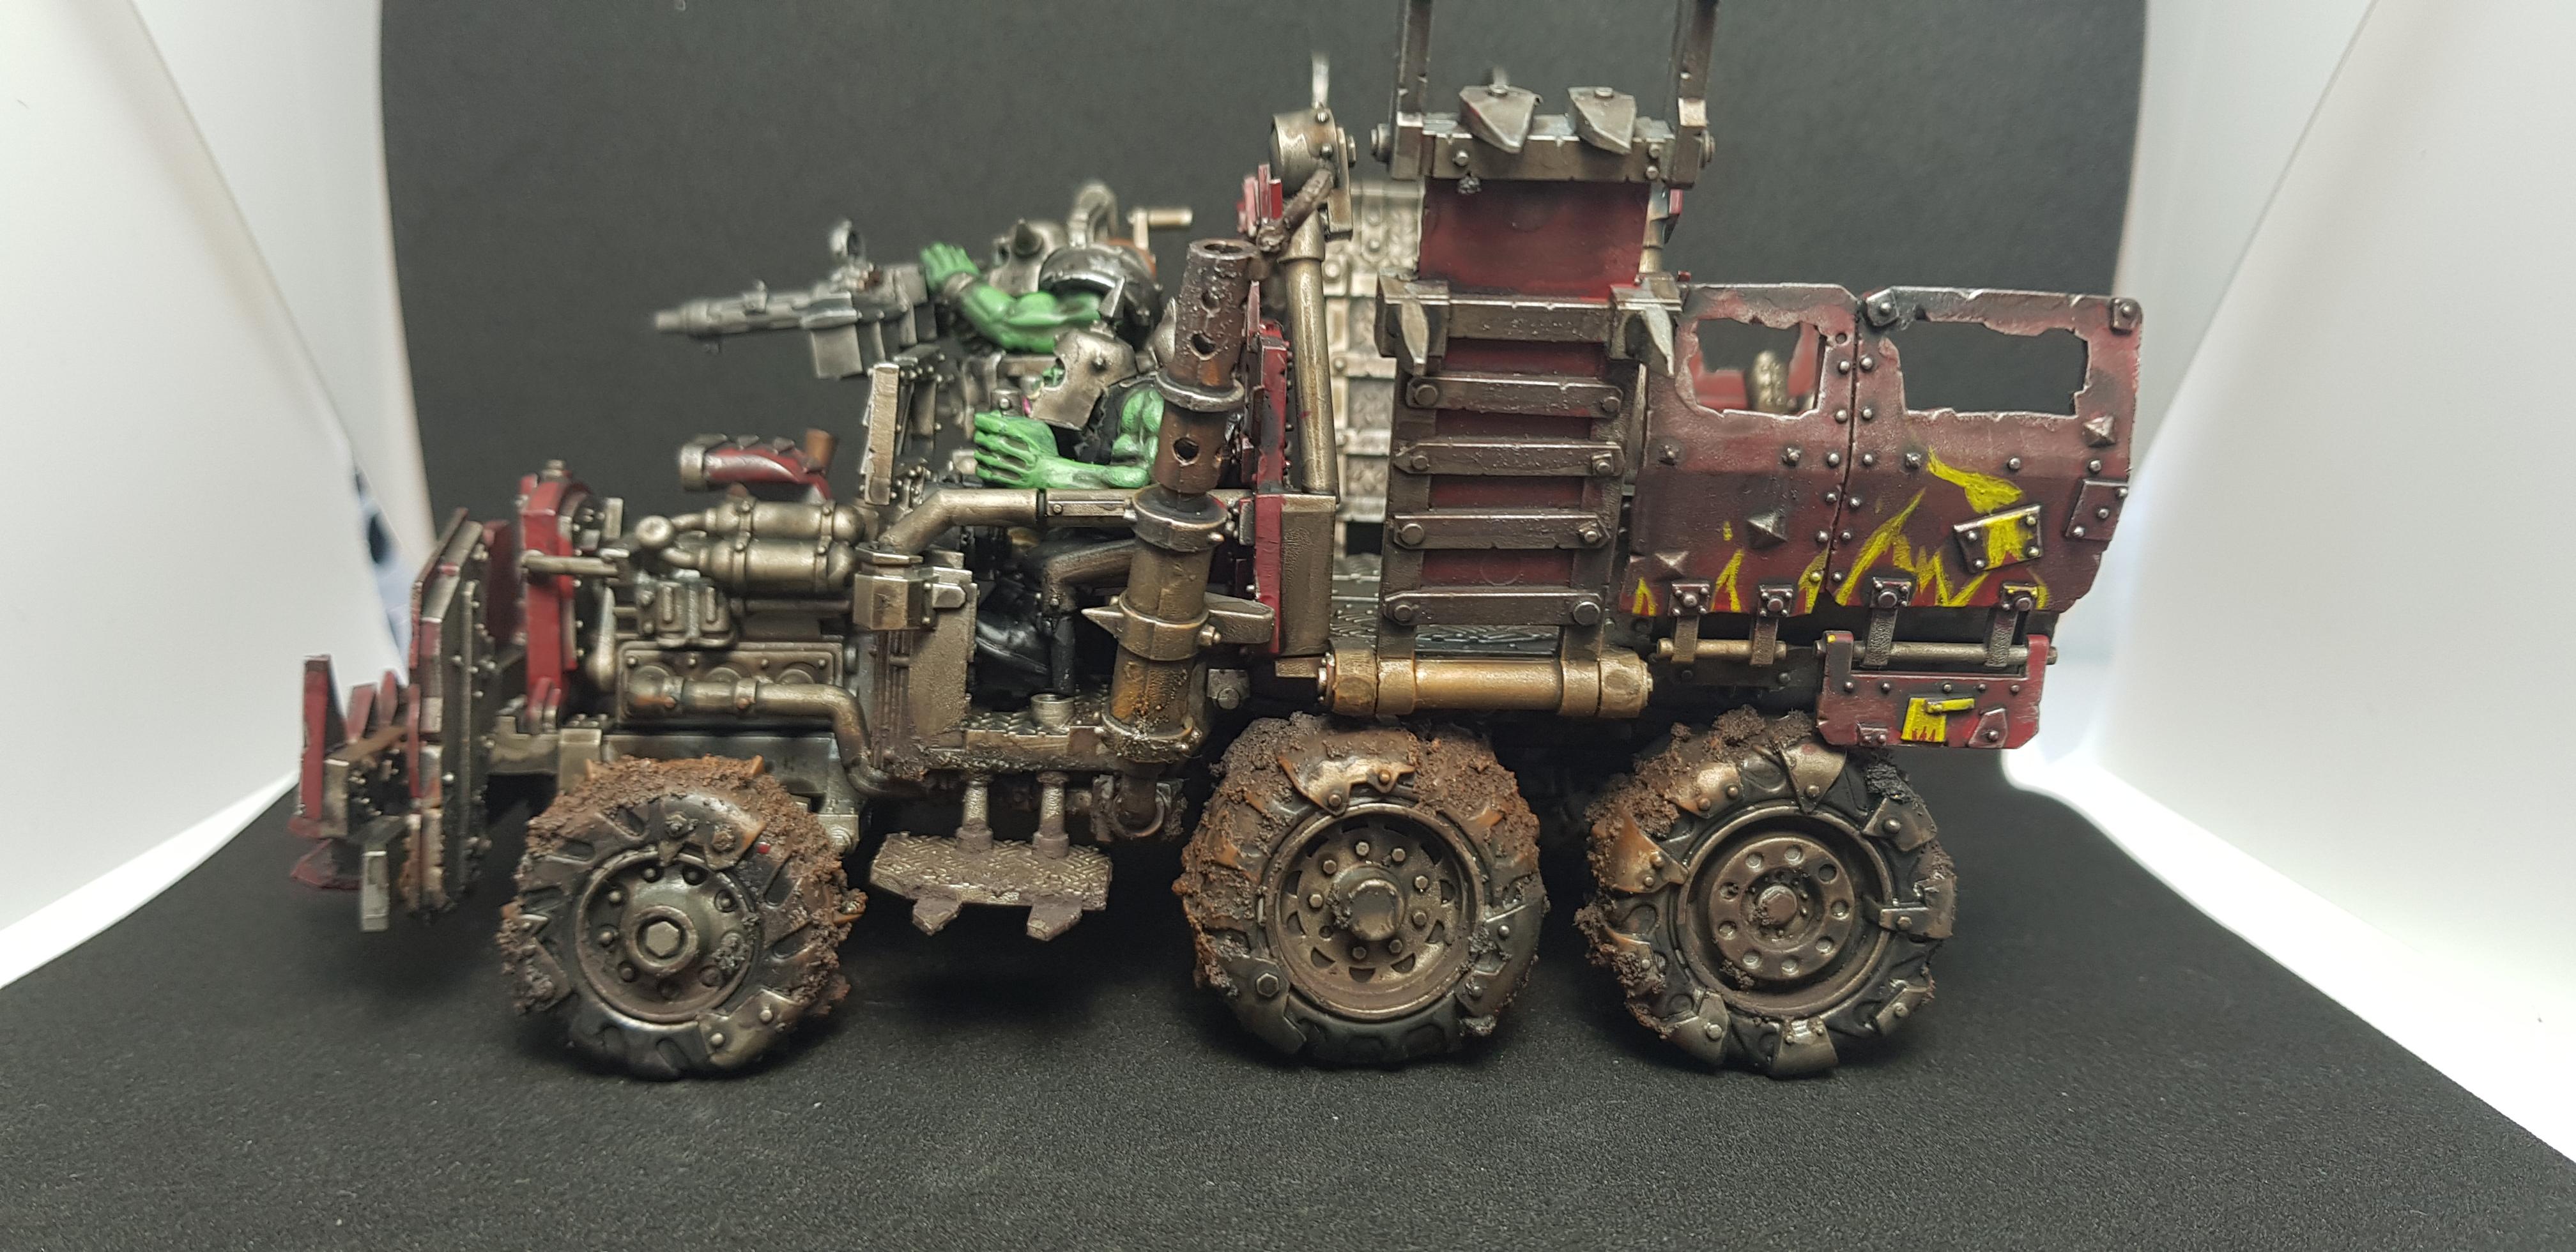
Welp, it's long past time for me to post pics of my Ork trukk conversions, so here we go.  I'll also include a little tutorial on the basic build.  This is going to be a long post, so settle in for a spell.

Supreme Overlord Silk has final approval over all my builds.


Here we have Velvet watching over the kit.  It's full of all kinds of useful goodies for kitbashing Ork vehicles.

I've used the exhausts from this kit on several builds.

I've picked up a number of frames, axels, engines, and drivers from this kit from bitz sellers because they're so useful.

I seem to be incapable of building a kit the way it was meant to be built, and this one was no exception.  I thought the trukk was a little too short and stubby, so I decided to lengthen it a wee bit.

To make these conversions, I use a lot of strip styrene from Evergreen Scale Models.  You should be able to find some at a model train shop, or you can always order from them direct:

First up is to cut the frame as shown by the red line.  I think that I used a jeweler's saw for this, but a razor saw would work fine as well.

You want a nice clean cut to glue the extension pieces to.

It's a good idea to finish all the cuts to a piece *before* you start gluing bits to it.  I decided to make my bumpers magnetic, so the first step was to carefully trim off the piece on the underside that is outlined in red so that it is flush with the crossbar.  After making a cut to the proper depth, I used the chisel blade to carve off the pieces.  X-acto blades are stupidly sharp, use caution!  My fingertips are a network of old scars from little slips with a blade.

Carve off the bits below the red lines.

The end result should look like this.

Another view.

I decided that I wanted all the tires on my trukks to be the same size.  The front tires of the kit are smaller, as seen here on this nicely done trukk by Deadshot on DakkaDakka. 

To accomplish this, I replaced the funky front axle with a simple straight piece of tube.

In order to make the larger tires fit properly, I moved the leaf springs in closer to the frame.  Using a saw, carefully make a horizontal cut in the marked areas.  The two rivets closest to the frame need to be trimmed off as well. 

Then trim off the pieces as shown below.  I have a small bin that I toss little bits like these into for use as rubble or basing material.

After all this, you should have a pile of parts something like this.  I also clipped off the sad excuse for a fifth wheel.  Besides being ridiculously tiny, it's in a completely useless position.  

Now to glue in the frame extension.  Cut two pieces of .125" x .188" styrene strips to a length of 34 mm.  These are the side rails of the frame extensions.  Cut two .080" x .188" strips to the same length as the crossbars in the frame.  Glue the frame extensions and crossbars in place.  The crossbar closest to the front shouldn't be placed too far forward as a section of the cab nestles between the side rails.  I put a section of .100" x .125" strip under the frame where it joins with the angled front section.  

You may notice in this pic that the frame appears to narrow a wee bit from front to back.  This is because I managed to cut the rear crossbar a little shorter than the front one.  Since this is an Ork vehicle, I don't worry about it if things aren't quite perfect.  In fact, that adds to the charm.

I decided to also magnetize the truck bed so that in the future I could make options like a tow truck or mount a big honkin' gun.  I used a pin vise to drill holes for the magnets (1/16" by 1/32").  I put a drop of superglue in the hole and use a rod magnet to hold the smaller magnet while I insert it into the hole, then slide the rod magnet sideways leaving the small magnet in place.  This ensures that I have the magnet in position with the correct polarity.

I made a jig so that I could ensure that I could drill the holes in the same locations on each of my builds.


I glued strips so that the template would sit above the rivets.

Now for the front bumper mounts.  I used 3/16" channels that I cut to 9.8mm long and carved off one flange on each.

These are glued into place on the frame.

I created another jig to drill holes in the bumper support arms.

I then used the bumper itself as a jig to drill the magnet holes in the mounts.

I used some pieces of .080" x .080" strips as bracing

Arms from .060" x .156" strips.

Oh, and you can see in these pics the leaf springs that I glued so that they were touching the frame.

A simple 5/32" diameter tube for the front axle.

That's enough for now.  In the next post, I'll show some mods to the cabin and various weapon mounts, as well as some examples of lengthened beds.


Saturday, 14 May 2022

The Kitbashes: Cheezy Marine

 I really need to post more often.

So here is my most recent build, a Deathwatch marine.


I still have some work to do on him, like drilling the gun barrel, removing mold lines, and some putty patch-up.  And I need to add some grenades and whatnot.

I haven't added a shoulder pad for his right arm yet as I'm still deciding on what chapter to make him from.  I've received a lot of suggestions from my posts on various Facebook modeling groups and on Reddit.  I think that my favourites so far are these:

  • Lamenters - he was sent to the Deathwatch because he was just too damn cheerful.  Plus, I do like the look of the checkerboard version of their chapter symbol.
  • Emperor's Pointy Sticks - I like their chapter symbol too, but I can't say as I've read any of the comics yet, so I don't know much about them or their style.  That might be a good thing to do on a quiet rainy day.
  • Marines Benevolent - I like the idea of this one.  What would their chapter symbol be?
Someone mentioned that he looked like Johnny Bravo.  I'm considering sculpting some shades and big ol' hair for him, but my sculpting skills are at best...


Here is a parts list and links to them in case you want to make one for yourself:

Body:
I just used Tactical Marine bits for the body because it's what I had lying around. I think that the big thing here is to find a leg pose that looks good.

Arms:
The right arm is from the Primaris Infiltrators kit.

I didn't happen to have the ammo bit on hand, so I cut up the remains of a Primaris Reiver bolt carbine that I had already taken the arm from for a different project. Whittling it down to fit into the ammo slot was a pain. I recommend just using the proper ammo bit.

The left arm is from the Devastators kit. Or at least, I think it is. The main thing is to find an arm that points straight out from the body in the same direction as the right arm.

Shoulder Pads:
I used the Deathwatch pad from the Command Squad and cut off the flange on top so it would fit. If you plan on making him a regular marine, then any chapter pad without a large flange on top would do.

Once I decide on which chapter he's from, I want a textured pad that will probably end up being 3D printed. If you plan on using a decal, then I'd recommend using the pad from the Infiltrator kit.

Hands:
This is the fun one. I used the hands from the Devastator kit. I carefully carved out the thumbs from the pointing hands, and attached the thumbs from the open hands.  I carved off the thumb from the Devastator pointing right hand first because in case I mucked it up, I'd still have the pointing hand on the arm to try again.  But my first attempt turned out pretty good, so I just ended up using it.  This whole process was extremely fiddley and involved much swearage.

If I were to do it again, I'd probably just buy these:

Head:
The head is this happy fellow from the new Chaos Marines. I cut off his horn and I can see from the pictures that I have a little more work to do to smooth out his noggin.

That's about it for now.  I'll really try to post more often.  Cheers.