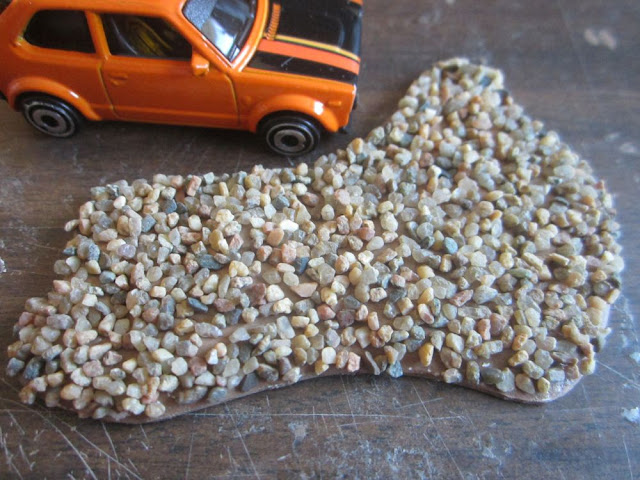
Picking up where we left off, here are some more terrain tiles. As the
sand tiles represent rough terrain, these rocky tiles represent treacherous
terrain. These were made using the same methods as the sand tiles, but
using a coarser grain of model railroad ballast.
Driving over a rockpile like this would be a little tough on most cars.
I put a couple of the billboards on rocky terrain.
One step that I still have to do is to spray the gravel with a mixture of
white glue, water, and a bit of dish detergent to make sure that it's firmly
attached to the base.
Wreck tiles. These are simply sand tiles with the addition of some
beat-up cars.
This one included a 3D printed concrete barrier that I tore apart with a pair
of pliers.
The cars are a cheap no-name brand and are very brittle. They're easy to twist and break with a pair of pliers.
And by very brittle, I mean extremely brittle. It's easy to go too far.
This car clearly had a collision with something.
This car had the misfortune to hit some debris that had a fridge balanced on
top.
Neither vehicle was able to drive away from this collision.
Whatever this car hit took away its front tires.
How fast was this guy going in reverse to do this kind of damage?
It looks like this car had a rollover.
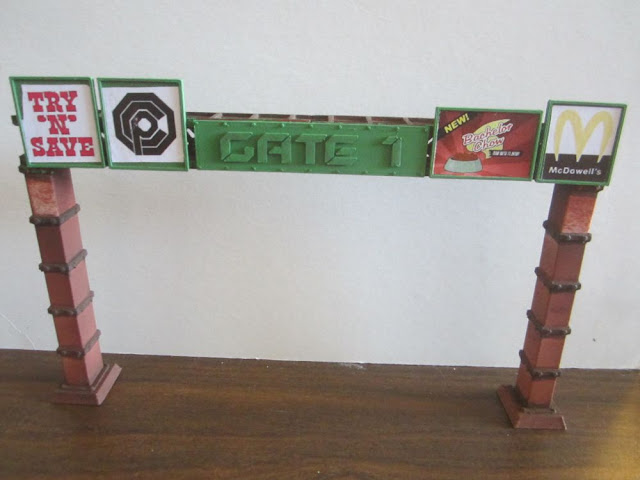
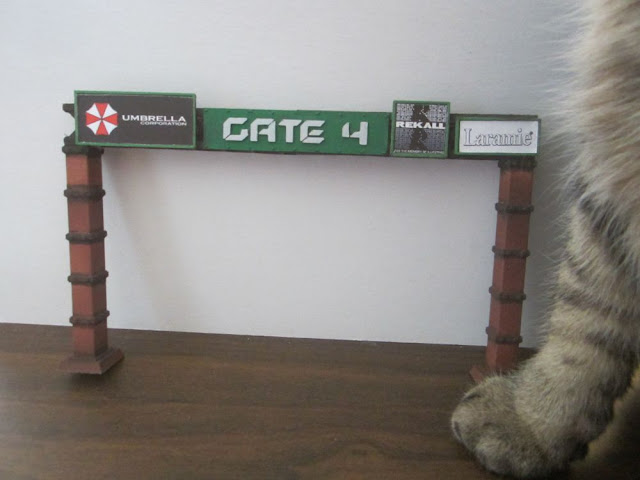
Gates are another terrain feature for the game. I designed and 3D
printed these.
They were a wee bit fiddly to glue together.
With a coat of primer.
And a bit of paint.

Here are the gates with the ads glued on. I still need to finish painting the concrete pillars.


No comments:
Post a Comment