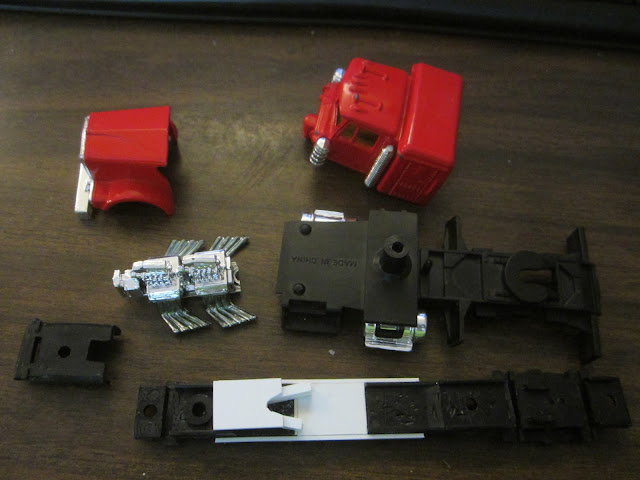
I looked at these two vehicles and said, "Yup, war rig."
The first step was to disassemble them.
Some cutting was required to get the engine part to fit, and I had to lengthen
the frame.
I cut a notch out of the hood and extended it with some styrene plastic.
Starting to take shape.
Silk inspects the progress.
Some more plastic to add some armour and a firing platform.
The armour on the windows was cut from a roll of vinyl window screen.
Access door to the sleeper.
The rivets are just little bits cut off of an Evergreen .030" plastic rod.
Some crude putty work to blend the plastic and metal.
The ram is from a very old GorkaMorka plastic kit.
And, of course, it's magnetic.
The rod sticking out connects the hood to the frame. I eventually cut it
down to size.
Primed up, along with one of my Miyasaki sports cars.
I'm pretty happy with how the front armour came out.
Now I just have to paint it.
Speaking of the Miyasaki sports car...
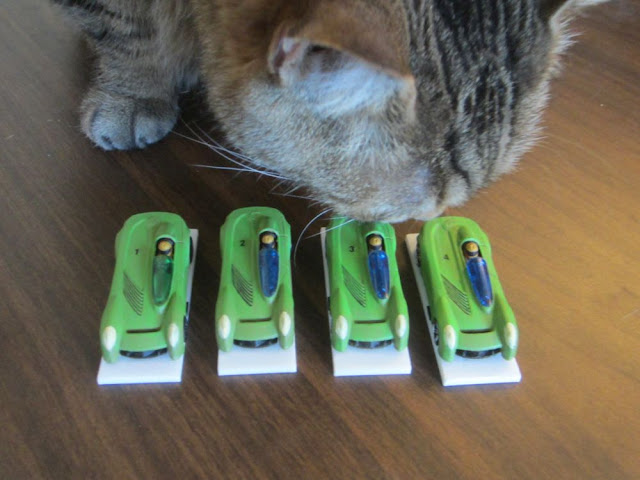
I had four of these cars, so I have enough to make a 100-can team. Here
we can see the mess I made when drilling out the magnet holes. The bit
was dull and really wanted to wander.
A little putty will fix that right up.
First coat of paint.
It's supposed to be neon green.
Silk does a quality check.
The paw of approval.
Some numbers from a very old decal sheet.
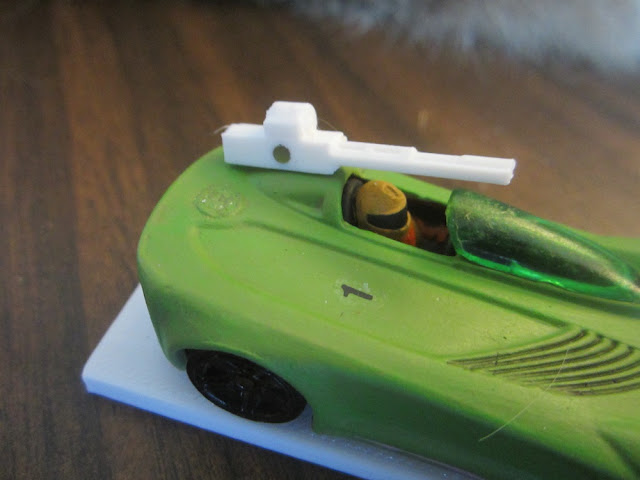
A crudely printed machine gun.
Magnetized, of course.
Once they're painted, the guns don't look half bad, considering they were
printed on an fdm printer.
I finally found one of these cars.
Some chopping and plastic work...
And I have a Reliant Regal.
Primed up.
Added a bit of window grating.
You can just see the roll cage I built inside it.
A bit of rust.
Watch out Mr. Bean.
The 3D printed back.
Beauty shot along the highway.
Next up, terrain.


No comments:
Post a Comment