
Terrain. One of my favourite things to build. It probably goes back to my model railroad days.
Since Gaslands is supposed to be a televised racing event, there will of course be some advertising.
And by some, I mean a lot.
As I'm a big fan of Futurama, I had to have an ad for Slurm.

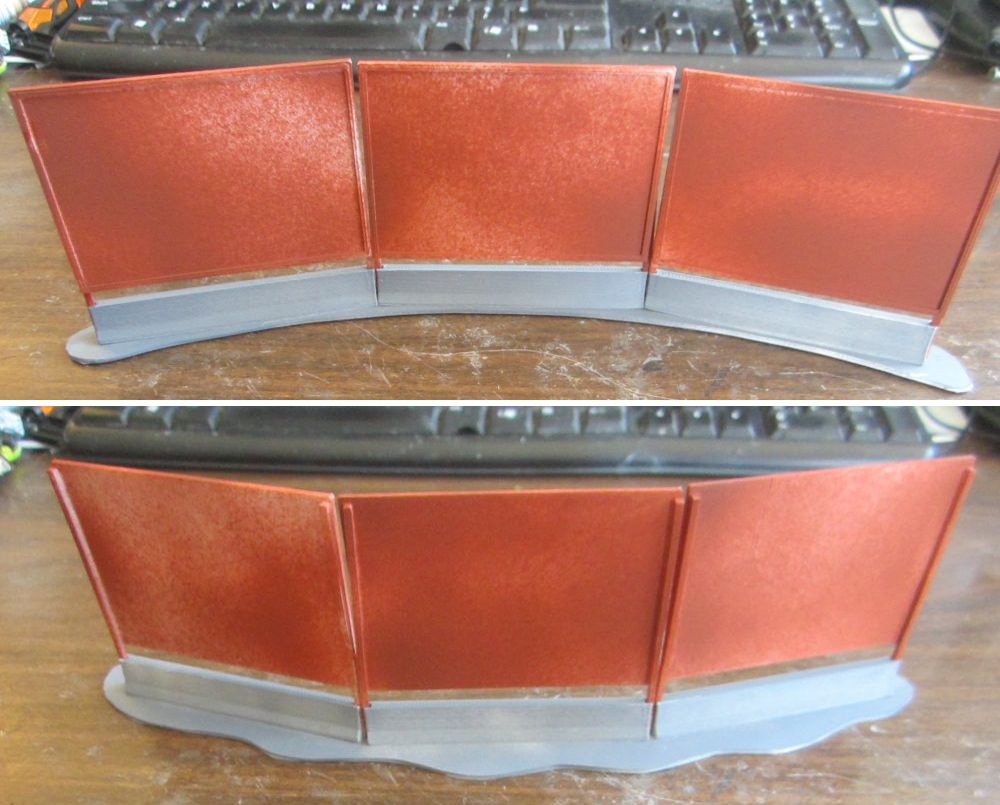
The backside, all rusted up.

This started out as a basic 3D printed billboard, glued onto a scrap sheet of
plastic.

Gluing these things together was a bit fiddly. These cheap clamps from the Dollar store are great.

Mars. Book your flight now.

This one developed a distinct lean when I glued it together. Oh well,
fits the ramshackle aesthetic.

Two of my favourite movies represented here.

Some billboards on top of concrete barriers and a few wreck terrain
pieces. More on those later.

Primed up.
Splashed on a black wash over random parts.

Finished with the Typhus Corrosion/Ryza Rust combo and glued on some ads
printed out on paper.

A shot showing the black wash stage.

Having trouble keeping something glued? Liberally apply some super glue
and sprinkle on some baking powder. It sets right up and can be sanded,
although in this case I just left it as mounds of dirt around the poles.

The Zorg Industries billboard is pretty ruggedly built.

It's got electrolytes!

A couple of the sponsors.

And of course, a Fallout ad.

And some more sponsors.

Some crash barriers. I made them small so that if a car crashes through,
I only have to remove a small section.

I made a little jig to help with gluing.

Insert the legs and add a bit of superglue.

Apply the barrier bit and let dry.

Presto.

A truck full of yahoos and some barriers.

Painted up and some fine-grit model railroad ballast added.

Which brings me to the process of making sand markers. In the game,
these act as rough terrain. First I start with a piece of 1mm thick
plastic.

Add some spackle.

And let it dry (usually overnight).

Some cheap craft paint.


Brush on the glue.

Give it a good coat and put it in the middle of the sheet of paper.

Pile on the ballast and let it sit for a spell.

Tap the excess sand off and use the paper to pour it back into the bag.

And tada. One sand marker.

I chose this colour of sand as it was a pretty good match with the vinyl mat
that I use for a play surface.

Some sand markers. One even has some sand dune action going.

Close-up.

Next, moar terrain.


Absolutely LOVE the jacked up "Mr.Bean" car!!
ReplyDeleteA lot of cool details.. I really like that some are easily removed because they are magnetic.