
Welp, it's long past time for me to post pics of my Ork trukk conversions, so here we go. I'll also include a little tutorial on the basic build. This is going to be a long post, so settle in for a spell.
Supreme Overlord Silk has final approval over all my builds.


I've used the exhausts from this kit on several builds.

I've picked up a number of frames, axels, engines, and drivers from this kit
from bitz sellers because they're so useful.

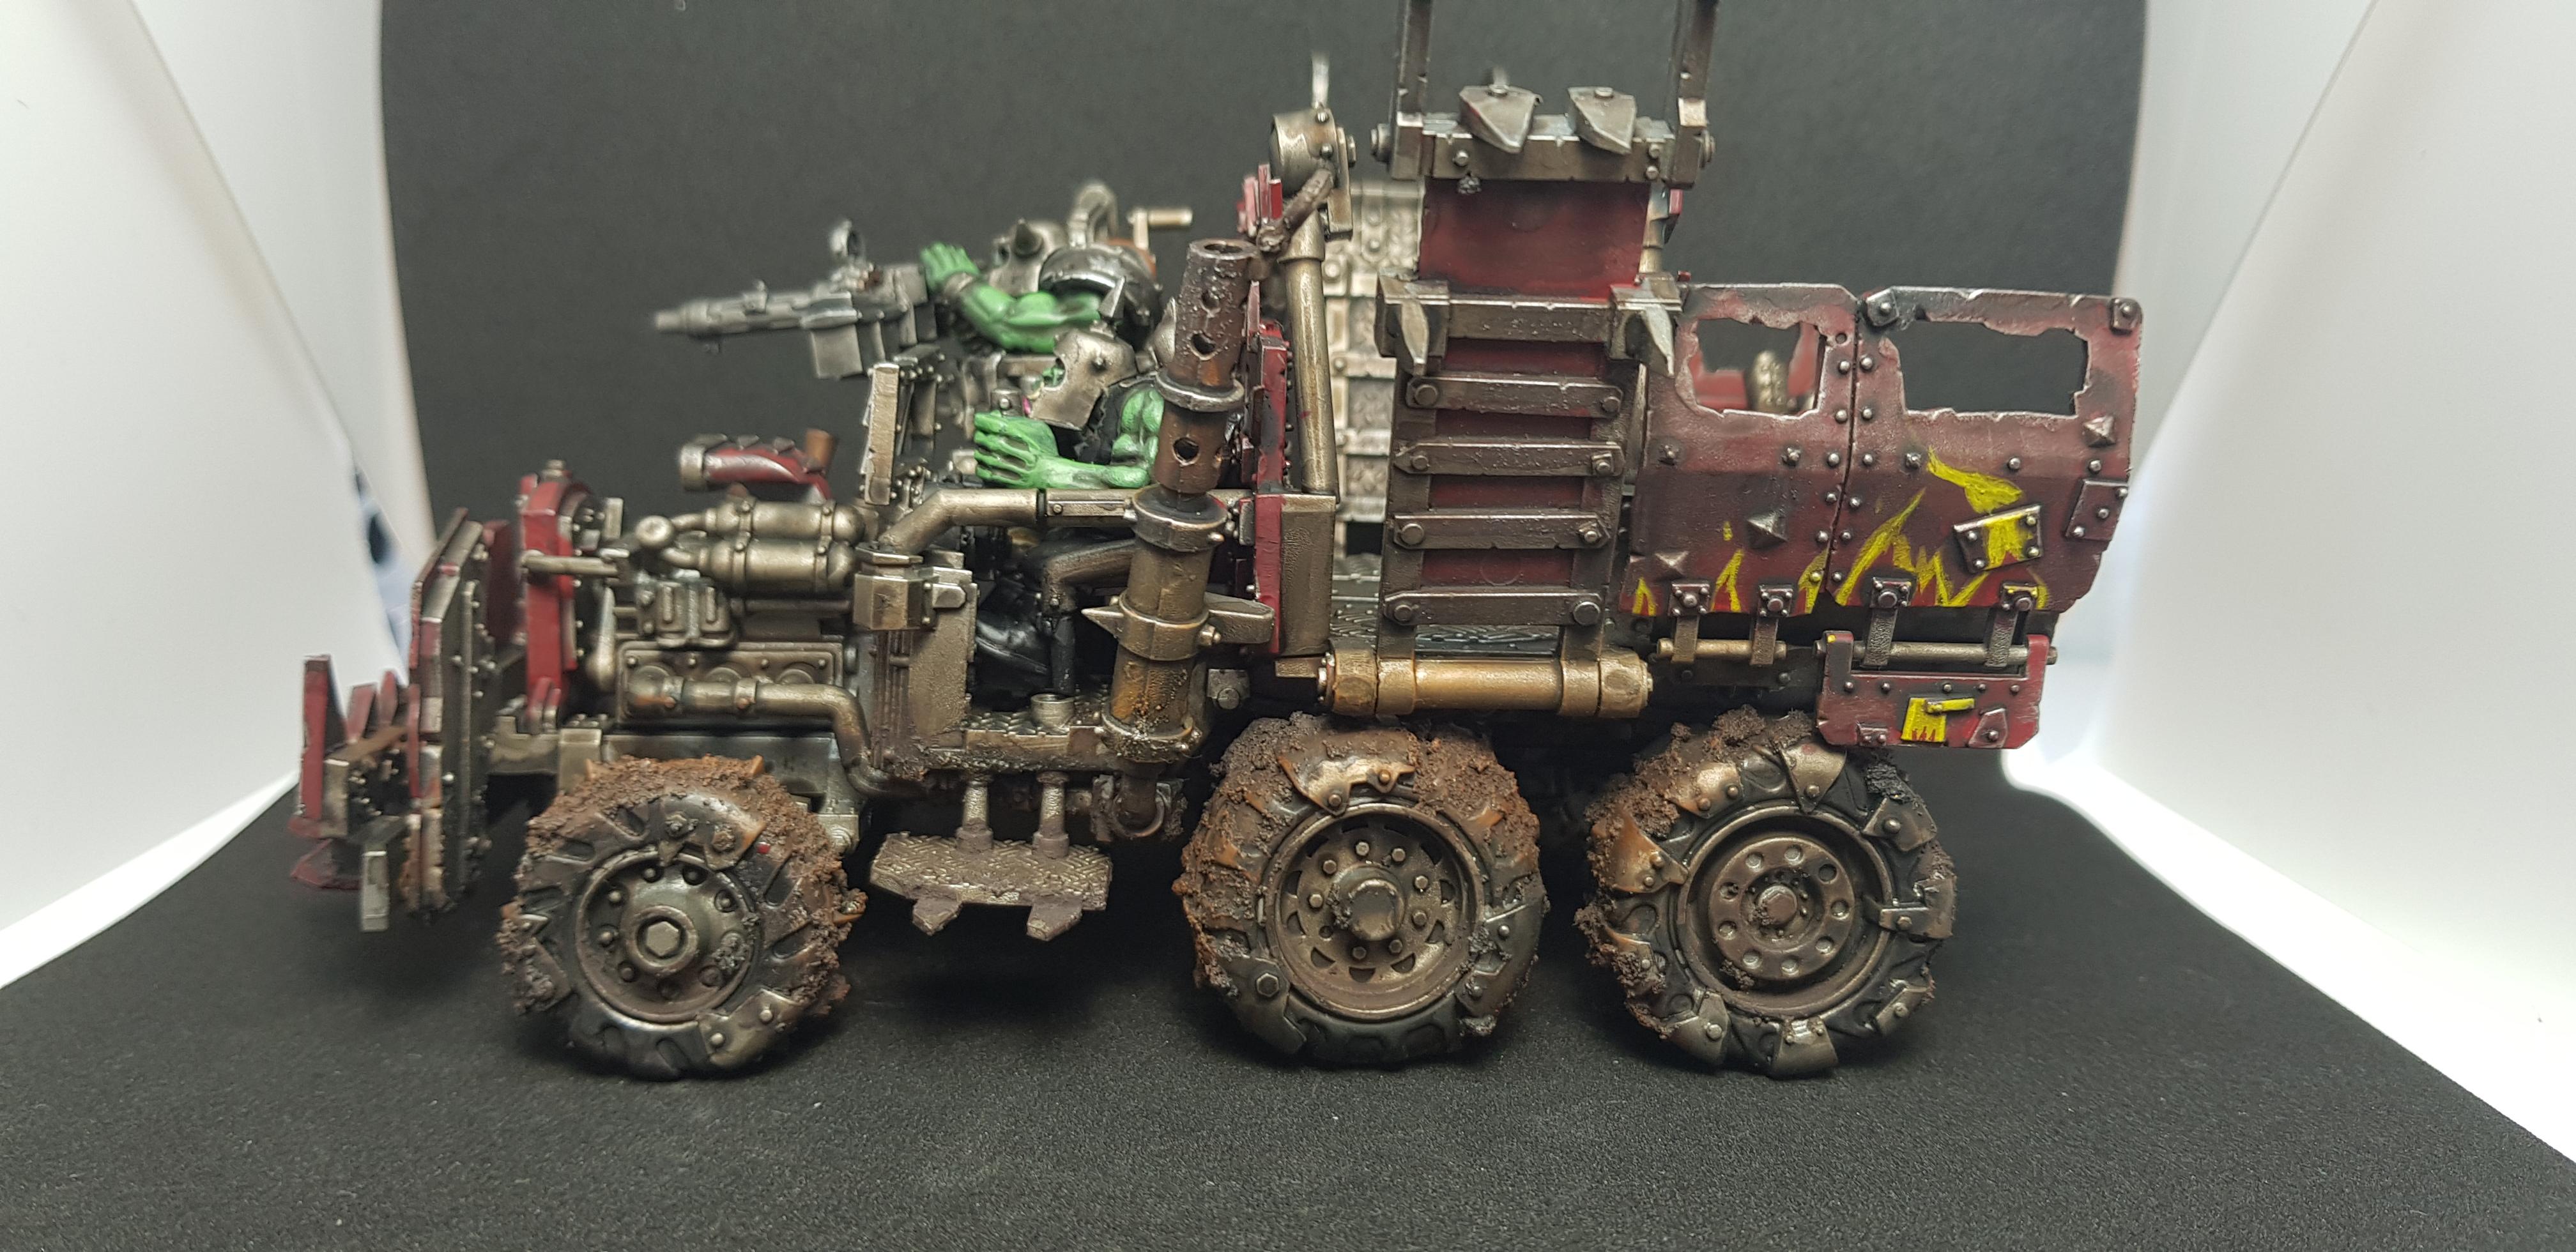
I seem to be incapable of building a kit the way it was meant to be built, and
this one was no exception. I thought the trukk was a little too short
and stubby, so I decided to lengthen it a wee bit.

To make these conversions, I use a lot of strip styrene from Evergreen Scale Models. You should be able to find some at a model train shop, or you can always order from them direct:

First up is to cut the frame as shown by the red line. I think that I
used a jeweler's saw for this, but a razor saw would work fine as well.


To accomplish this, I replaced the funky front axle with a simple straight piece of tube.


Then trim off the pieces as shown below. I have a small bin that I toss little bits like these into for use as rubble or basing material.

After all this, you should have a pile of parts something like this. I also clipped off the sad excuse for a fifth wheel. Besides being ridiculously tiny, it's in a completely useless position.

Now to glue in the frame extension. Cut two pieces of .125" x .188" styrene strips to a length of 34 mm. These are the side rails of the frame extensions. Cut two .080" x .188" strips to the same length as the crossbars in the frame. Glue the frame extensions and crossbars in place. The crossbar closest to the front shouldn't be placed too far forward as a section of the cab nestles between the side rails. I put a section of .100" x .125" strip under the frame where it joins with the angled front section.

You may notice in this pic that the frame appears to narrow a wee bit from front to back. This is because I managed to cut the rear crossbar a little shorter than the front one. Since this is an Ork vehicle, I don't worry about it if things aren't quite perfect. In fact, that adds to the charm.


I glued strips so that the template would sit above the rivets.


I then used the bumper itself as a jig to drill the magnet holes in the mounts.


Oh, and you can see in these pics the leaf springs that I glued so that they were touching the frame.

A simple 5/32" diameter tube for the front axle.


In order to make the larger tires fit properly, I moved the leaf springs in closer to the frame. Using a saw, carefully make a horizontal cut in the marked
areas. The two rivets closest to the frame need to be trimmed off as
well.


I decided to also magnetize the truck bed so that in the future I could make options like a tow truck or mount a big honkin' gun. I used a pin vise to drill holes for the magnets (1/16" by 1/32"). I put a drop of superglue in the hole and use a rod magnet to hold the smaller magnet while I insert it into the hole, then slide the rod magnet sideways leaving the small magnet in place. This ensures that I have the magnet in position with the correct polarity.

I made a jig so that I could ensure that I could drill the holes in the same locations on each of my builds.


Now for the front bumper mounts. I used 3/16" channels that I cut to 9.8mm long and carved off one flange on each.

These are glued into place on the frame.

I created another jig to drill holes in the bumper support arms.


I used some pieces of .080" x .080" strips as bracing


Arms from .060" x .156" strips.


That's enough for now. In the next post, I'll show some mods to the cabin and various weapon mounts, as well as some examples of lengthened beds.
No comments:
Post a Comment