Wednesday, 25 May 2022

The Kitbashes: Ork Trukks (Part the Third)

If this is a complete disaster, it's because I'm attempting to write it before I'm fully caffeinated.

Today we're talking about making extended beds for the Ork trukk.  Here we have Silk monitoring the painting process.

My extended beds so far.

So far none of my beds have had the walls angled out like in the base kit.  To achieve this, I shaved down the angled sides of the bed.

I used .100" x .100" strip styrene cut to about 68mm long for the sides and one cut to 51mm long for the end.  There's a little bit of variation in the lengths as I tend to just eyeball it rather than measure, 'cause, y'know, Orks.  I built up the bed in layers of sheet styrene to get the same panel look as the bed.  It's been quite a while since I did it, but I'm fairly certain that I used a .040" thick piece for the core and .030" thick pieces for the panels on either side.

I then added on some thinner strips and sheet for additional panels and straps.

Add in some rivets.

Another example.  I sandwiched in a bit of granny grating on this one.  Notice that on the end there's a panel with a magnet in the center.  I was thinking that at some point down the road I might want to have options for dropped weapons like mines or oil slicks, or maybe a rocket booster.

For the underside, I added a couple of strips to hold the magnets, using my handy dandy template as a guide.  Note that the two strips in the middle of the template sit on either side of the existing strip.

And then use the template to drill the magnet holes.

Holes drilled.  Make sure you get the polarity right when putting in the magnets because it's a real pain fixing it if you don't.  Learn from my fail.

The underside of another bed before I added the strip next to the thin one on the right.

Hopefully the magnets all line up.  This is one part where you do actually want to measure accurately and not just eyeball it.

For the side panels I used scraps, the actual kit side walls, and some bits from the Ork battlewagon.

Random and ramshackle.

One of the things that I did was to have a nice flat spot on the outside of the walls so I could add magnetized glyph plates.

I made some clan glyph plates.  I need to make some more.

And of course, I have a template for drilling the magnet holes.

A magnetized glyph plate.

I also added magnets to the inside of the wall.

Why, you ask?  So I could add moar weapon mounts.

For things like the wrecking ball.

And again, I got a little carried away with the magnets.

Fur-covered wrecking ball.

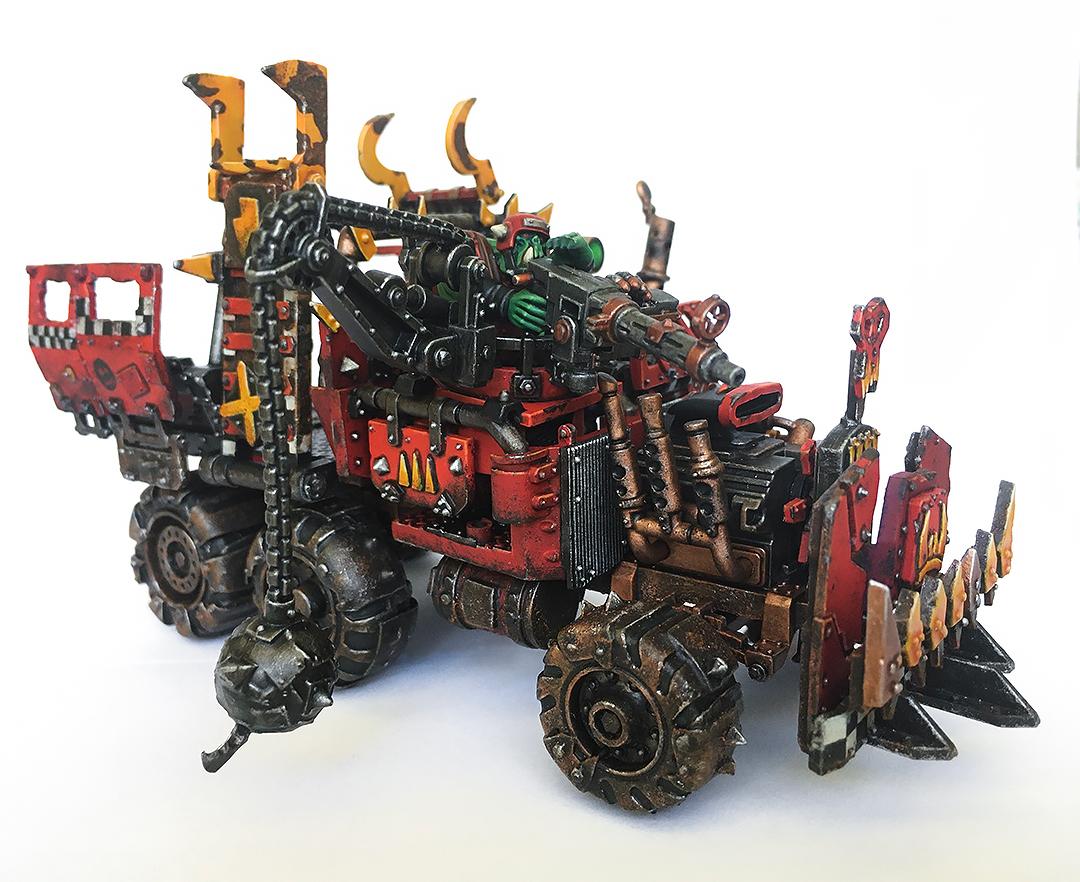
And that's probably enough for now.  In the next post I'll have some pics of the completed trukks and some of what little bit of painting I've actually managed to do.


Tuesday, 24 May 2022

The Kitbashes: Ork Trukks (Part Deux)

Woo!  Two posts in two days.  I'm on a roll.

Here we have Velvet overseeing the painting process.  I like to build my kits in sub-assemblies that can easily be painted before final assembly.

Alrighty, first up, the cabin.  The biggest change I made was not putting in the pintle-mount for the gun and wrecking ball, as seen in this beauty by sulfhydryl on DakkaDakka:

I wanted to have the option of either putting in a gunner or a passenger like this nob.

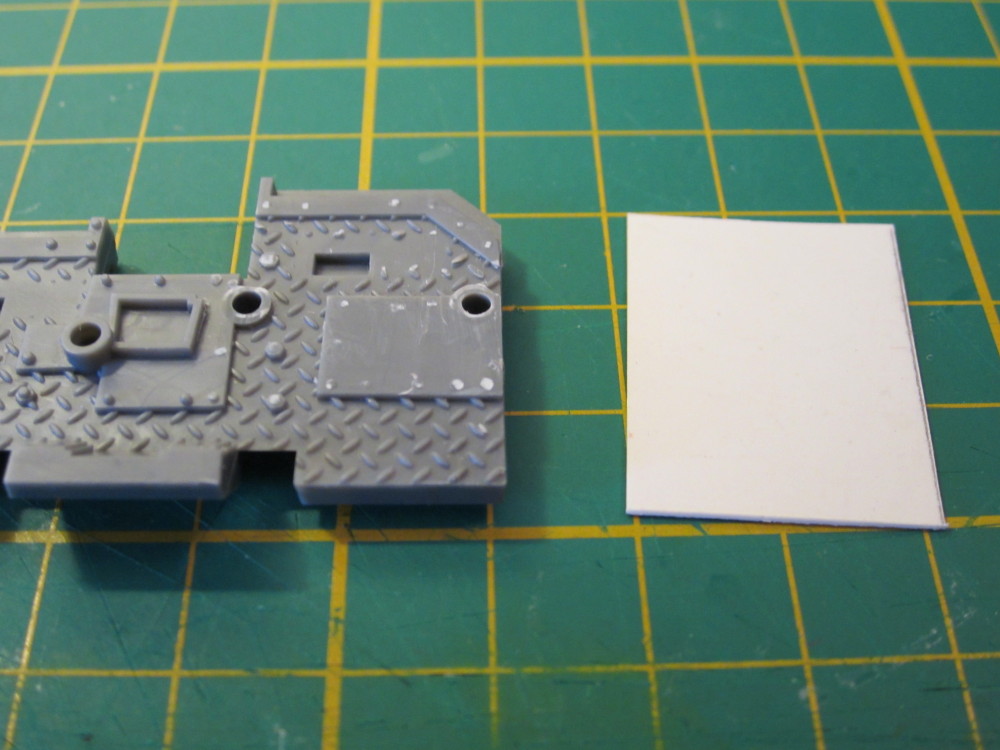
I trimmed the floor on the passenger side down and added a piece of plasticard to make it nice and level.  It also added a little extra height that made it a bit easier to mount the gunner.

In some builds I used treadplate instead.  These are from Plastruct, and again you should be able to find them in hobby shops that carry model railroads.  Or you can order from them direct:  https://plastruct.com/

After I trimmed the piece to fit and glued it down, I drilled a bunch of holes for rivets.

There are tons of different ways to make rivets.  This is my favourite for orky rivets, as I don't have to deal with tiny cast rivets or slices of rod pinging off into the warp every time I try to pick one up.

These rivets end up looking kinda rough, which is fine for orky vehicles.  Not so much for Imperial vehicles.  My thinking is that the nice smooth rivets are done by grots with actual riveting tools and the beat-up ones are done by enthusiastic ork volunteers with whatever blunt tool was at hand.

I also trimmed this piece off the cabin back for a little variety as at the time of building this I had four trukks being built.

I replaced it with a glyph plate.

I made a variety of magnetic weapon mounts out of scrap bits.  The main thing is to have the magnet positioned at a consistent spot from one cabin to the next.

I think that this one looks suitably ramshackle.

I may have gotten carried away with the whole magnet thing.  Not only are the heavy weapons magnetized where they attach to the mount and the gunner's hands, but the gunner's arms are magnetized as well.

Here we have a magnetized 'eavy shoota.  

Rokkit launcher.

Scorcher.

Spear gun.  I eventually replaced the spear heads with ones from some grot spear arms, shown here.

Twin-linked shootas.

Harpoon gun.

A different weapon mount cobbled together out of scrap.

I think that this weapon mount may have been scavenged from a pintle mount.

This weapon mount was obviously scavenged from some Imperial vehicle as it still has a bit of an Aquila showing.

The last big modification to the cabin involved the back wall.

Part of the back wall rests on top of the bed.  But since I was making the bed removable, something needed to be done.

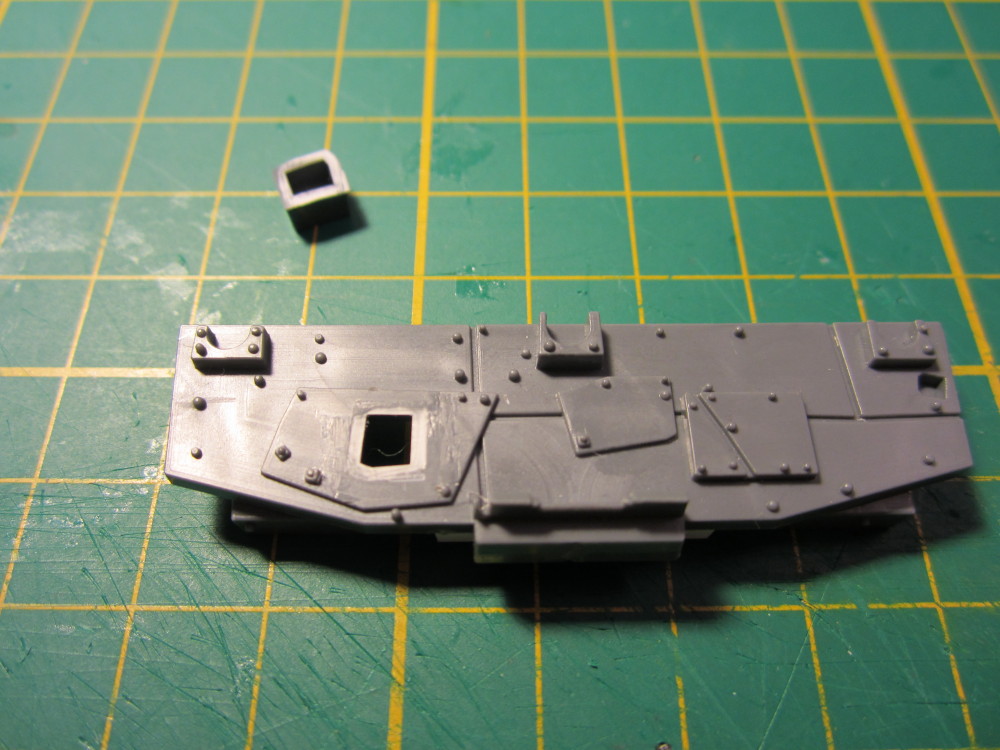
Use a saw to carefully cut the bed along the red line.  The circled rivets will likely need to be shaved off too, depending on where the cross-braces on the frame extension ended up.

Cut and cleaned up a bit.

Glue the cut piece to the back wall.

I glued on a couple of .040" x .125" pieces so that it will rest on the frame.

Here you can see the assembled cabin back and a lengthened bed.

I'll get into making the lengthened beds in the next post, as someone is informing me that it's past their suppertime.